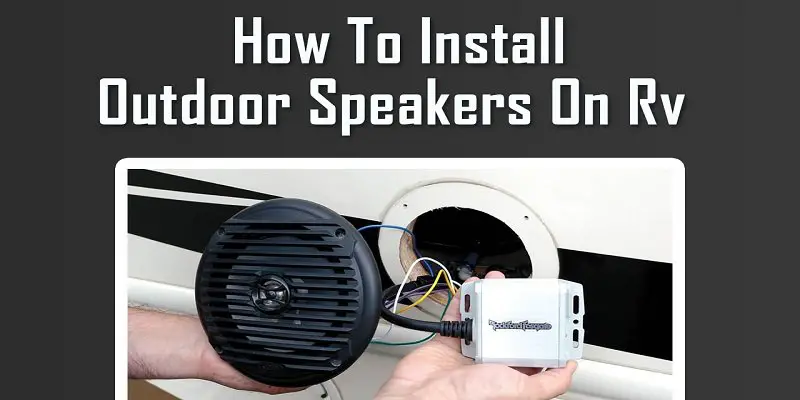
Are you planning to install a pair of outdoor speakers on your RV? Are you looking for a proper guideline for this job? It is the right place you’ve come to know how to install outdoor speakers on RV.
Installing outdoor speakers is not a big deal. You can do it so quickly. You should just know about connecting a wired or wireless line, drilling, cutting through saw adequately. If you can do it by yourself, then it saves your time and from harassment to calling an electrician.
It will save you money too. Besides, you can enjoy the work also, so if you are planning to have a tour after some days, it’s high time to install outdoor speakers on your RV.
How To Install Outdoor Speakers On RV
First of all, you have to gather the necessary things. Then you can start your installing process. It may take one to two hours.
Gather Ingredients
To install outdoor speakers, you need some tools and speakers in your favor.
To choose outdoor speakers, you can search for online shopping sites or any electronic shopping malls. Many types of speakers are available. You will find wired or wireless, Bluetooth systems, with rv speakers with LED lights or without LED light speakers.
The RV outdoor speakers may be in several sizes from the side of the diameter and deep. You should choose your favorite one according to the feature and your budget. Must select the waterproof function.
Jensen Best 5.25 outdoor RV Speakers 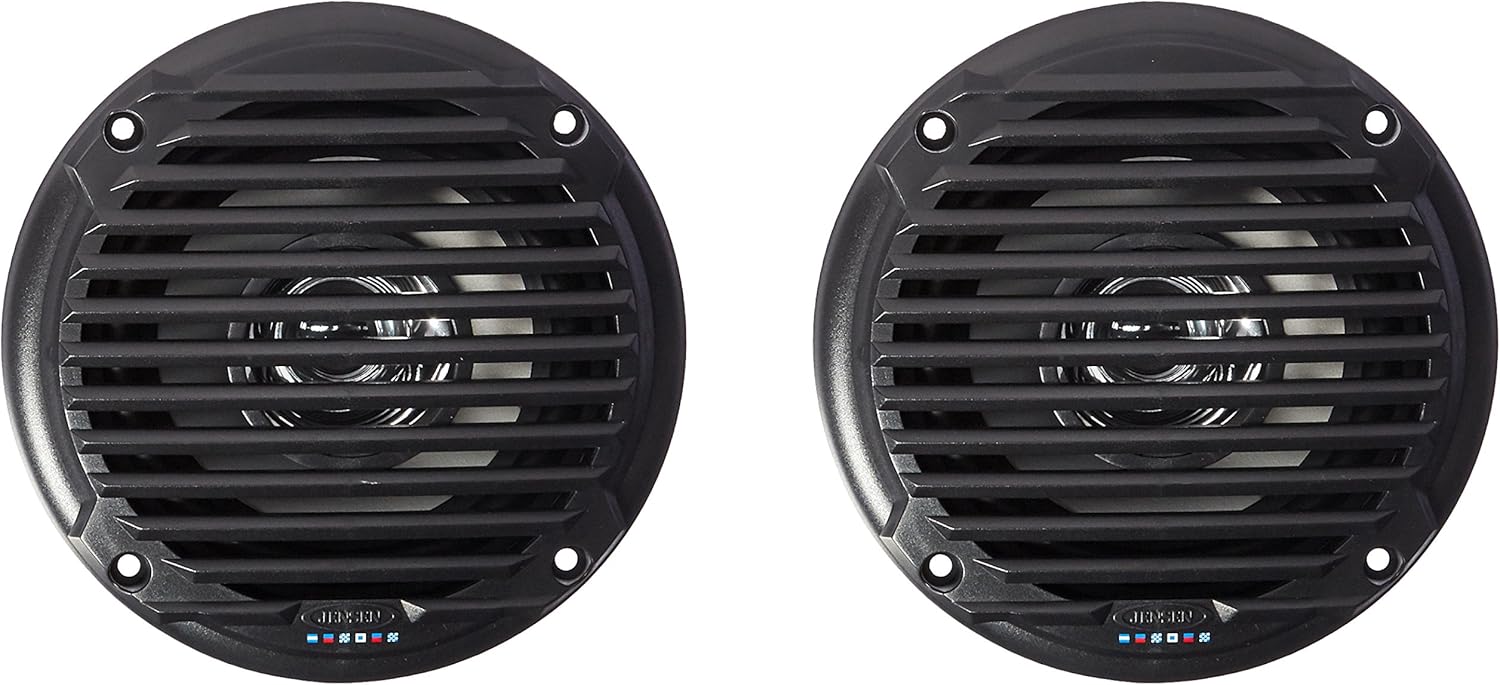
- Max Power Handling
- Waterproof
- UV resistant materials
Let’s Start The Installation Process:
Now we are going to fit the speakers. The work will finish in three steps.
Step 1: Cut Holes
- To settle the speakers, you have to make two holes outside of the wall of your RV. To do this, first, you should find out the right place. Finding the best position is up to the type of speakers and the structure of the RV.
- The wired speaker needs the position according to the wireline. Wireless needs a smooth and proper way to connect. We can suggest you cut the hole over the splash line or door-side.
- The holes must adjust to the speaker’s shape and size. For example, round-shaped speakers need round-shaped holes in that way, square-shaped holes for square-shaped speakers.
- On the other hand, the size of the holes should be one and a half-inch smaller than the speaker’s diameter. For example, six inches diameter speakers need four and a half-inch holes.
- Now cut two holes alongside with the help of a saw. After cutting the craters, make about the one-inch area around them. It is a screw area to fit the speakers.
Drill the screw holes according to the speaker’s necessity. The wall of the RV may feature hollow walls or solid veneer or foam core. Cut it with patience and be careful.
Step 2: Set The Connection
Your speakers must connect with your stereo, radio, or audio player from indoors. If you are installing wired outdoor speakers, you must connect the wireline with the player and speakers.
- First of all, disconnect the power inside of the RV for safety.
- Now join the positive and negative connection in the head unit of the audio player or stereo or radio.
- Run the wire under the RV floor.
- Drill a hole to bring the cable into the ground.
- Then pull it through the cupboard to the desired holes cutting for speakers.
- Now connect the correct positive and negative connections with the speaker’s terminal.
- Use waterproof tape to fit the wire.
- If you choose wireless speakers, drilling, pulling wire is no need so that it will save you time.
Step 3: Affix The Speakers
It’s time to knit the speakers with the holes. It’s not a daunting task. Just put the speaker’s backside into the hole and fix it. Notice that all the wires go inside. Fit it through screws.
Now you can use glue around the speaker. Pro-flex is well-known glue to apply for this type of work. Using glue can save your speaker from entering water or wind around it.
So, your speakers are ready to speak. Now it’s time to check your work. Just turn on your power and then the audio player. Hear from outside speakers to check. You can control sound from indoors.
Herdio Surface Mount RV Speakers 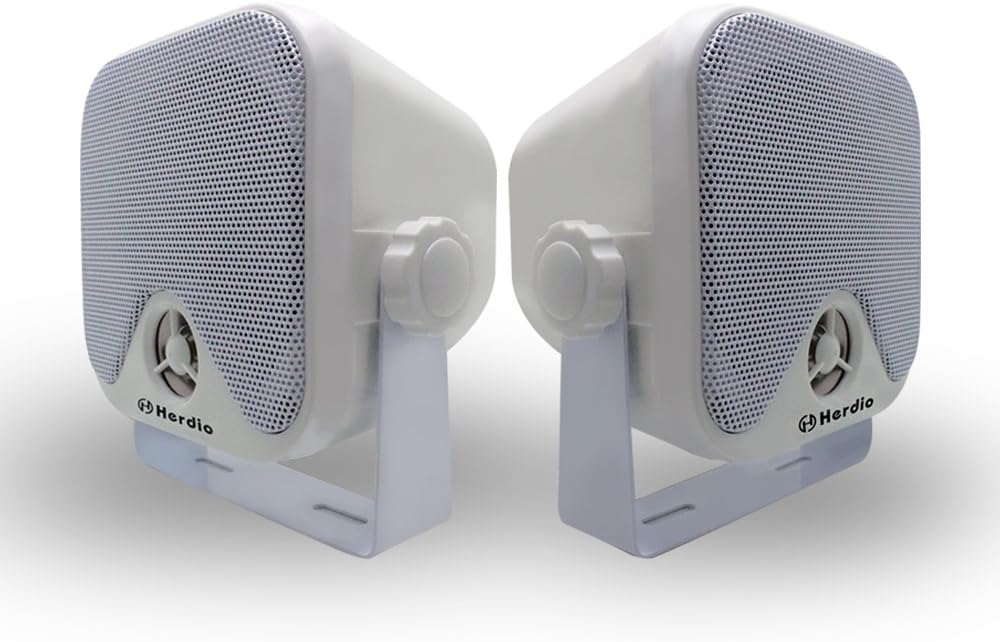
- Compact and Powerful
- Easy Installation
- IP66 Marine Grade Waterproof Construction
Note:
- The hole size measurement may give with the instruction provided by the manufacturer. Cut the dent according to it.
- To be ready for connecting, leave the speaker wire cover by side cutters from the real wire.
- For the aluminum-kerchiefed RV, the waterproof tape is a must. It will help to soak the ridge while ascending the speakers.
- Sometimes, the speaker brands paste their symbol on the top. So, be careful during installation that the sign is on the right angle.
- Be sure that all the wires are putting under the RV floor are safe. The drilled spaces must seal with silastic or plug. Apply protection substances for insulation of external or interior wire.
Conclusion
Speakers are an integral part of a tour or a party nowadays. That’s why people are using it with any type of device. Speakers are available in many sizes.
When people go outside with an RV, they mostly like to play music indoors as well as outdoors. Some RVs have installed indoor and outdoor speakers in advance. But some have to install up to the user’s choice.
If you want to try to attach outdoor speakers to your RV or need rv outdoor speaker upgrade if your rv outside speakers not working, we hope this article is useful for you. You can know how to install outdoor speakers on RVafter reading it.
- How to Swage Cable Without Tool – When You Don’t Have a Tool
- How To Gelcoat A Kevlar Canoe – A Complete Guideline With 8 steps
- How To Diagnose A Cracked Block Mercruiser – 7 Symptoms To Know
- How to Match RV Wallpaper – 6 Effective Tricks
- How To Choose Right Kayak Paddle
- The 5 Best Underwater Transom Light – To Conquer the Darkness in Water
- Best Wireless Underwater Drone – Top 5 Picks To Explore Under the Sea!
- 5 Best 12 Volt Trolling Motor Battery to Try in Budget