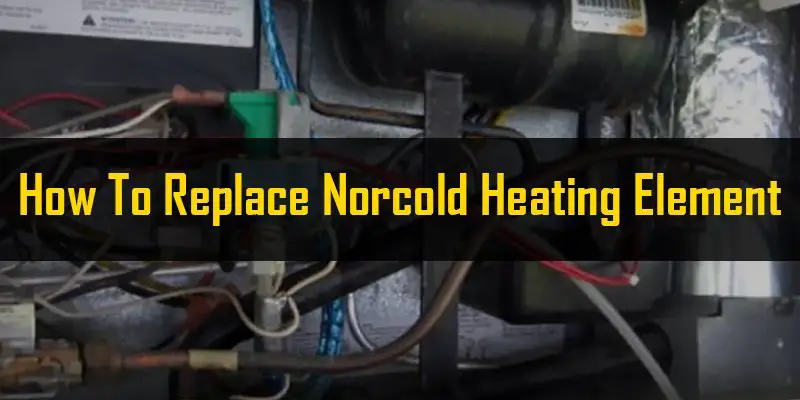
If you are an RV car owner, then this article is a useful one for you. In this article, we have tried to tell you about how to replace norcold heating element. So, it will be helpful for the RV owners to go through the article.
The norcold heating element is the element that has a connection with the refrigerator. You will find these norcold refrigerators in RV cars. Sometimes owners can get troubles by the failure of the electrical refrigerator heating element.
If there is a problem with the heating element, then the refrigerator will not be able to build proper amounts of ice. So, you should know the techniques of replacing it. Knowing the methods can help you to replace it by yourself.
Norcold (621702) Refrigerator Heating Element
Key Features
- Easy fix for the campers fridge
- Functions as needed
- Quality product as well as heavy duty wiring
How to Replace Norcold Heating Element- Methods of Replacement
Learning about how to replace norcold heating elements can cost you less time & money. If you are facing some cooling problems with your RV’s refrigerator, you should check the heating element.
You need to take off the problematic heating element & replace it with a new one to make your refrigerator work well. It will be easy for you to replace the part if you know the proper replacement methods.
So, let us take a look at its methods of replacing.
Step 1: Diagnose Your Refrigerator
The first step to replace a norcold heating element is to diagnose your refrigerator. By doing that you will be able to know how to test norcold heating element or how to test rv fridge heating element. Check if the cooling system of the fridge is in the right mode. Sometimes you can find that there is no ice in your freezer, or at a normal temperature.
If you find such problems, it may occur for a problematic heating element. In this situation, you need to check your heating element & replace it with a new one. While you are performing this process, you can turn on the gas mode to activate your refrigerator’s cooling system.
Step 2: Check the Heating Element
You need to check the ohms of the heating element for the replacement of it. According to the service manual, a good heating element should have an ohms measurement of 55-65 ohms. So, before removing the heating element, measure its ohms capacity.
A heating element with a reading of 44 or fewer ohms, points its defection. Read the ohms of your norcold heating element to make sure if it is defective or not. If the reading shows 44 ohms or less, immediately consider replacing it with a new one.
Step 3: Detach the Refrigerator for Heating Element Removal
Removing the heating element of a refrigerator needs to take the back off it. First, unplug it from the electrical outlet of the RV. After unplugging from the electrical board, detach the propane line from the fridge with the help of an open-end wrench.
Detach electrical wires from the back of the refrigerator & tape up the wires ends to make them shock-free. Remove the screws from the back of the fridge that secures it to the floor of RV. At this stage, pull it out from its cabinet.
Gently put the fridge down facing downward & while you are removing it, put a board over its back for the protection of its cooling coils. Slip a pry bar under the large tube of it to remove the cooling unit.
Step 4: Remove the Heating Element
After removing the cooling unit of the fridge, you will find a pair of wires above the burner. These wires are going into the insulation of the cooling unit’s chimney portion. To make the heating element expose its end, you need to remove enough insulation.
You can also examine your chimney portion. If it contains a lot of rust, then it sings that the chimney is overheating. In this state, you need to consider replacing the cooling unit.
Now, unplug the pair of wires from the pc board to make the heating element come out. Use a screwdriver to remove it from the baffles.
Step 5: Replacement of a New Heating Element
In this stage, you need to unplug the old or problematic heating element. After the successful removal of the heating element, you can install the new one into the insulation unit. Put the foams back into the tube to make the element stable. To make the foams fit into the tube can take some extra time of yours.
After completing all these work, plug in the pair of wires into the control board. Make sure the heating element gets enough protection by a fuse on the control board, or you can put one to protect it.
You can also consider hiring an RV expert to install a new heating element. It will cost you a vast amount of money to replace it.
## Considering Facts After Replacement
Measure the norcold heating element ohms of the new heating element to make sure that it is working well. If you find some problems with the ohms reading, then consider exchanging it.
Sometimes you can smell some odd or burning smell from the fridge. It can happen for the burning of paints of the new element.
On the other hand, the insulation unit needs high-temp fiberglass around the heating element. Otherwise, it will probably melt down.
So, try to examine if there is any smell you get after the replacement of the heating element.
Verdict
A problematic heating element can ruin your RV experience. You should get rid of its problem & norcold electric heating element replacement is the only solution to this type of problem. So, we have tried to bring you the process for learning how to replace norcold heating elements.
Reading this article can help you to replace the heating element by yourself. This process will take some time to replace, as you are not an RV expert. But it will save you a lot of money & also from tantrums during the hiring of an RV expert.
We hope our little effort will help you to save your time & money. On the other hand, we also hope that it will help for the better maintenance of the RV car of yours.
- 10 Ways of How To Protect Rv From Hail
- How To Remove RV Underbelly With Easy Steps
- How To Remove Round Rv Light Covers With Simple Explanations
- Guideline of How to Change Spark Plugs on Onan 5500 Generator?
- How To Remove Ghosted Decals – Commercial And Homemade Remover
- Wilderness Systems Tarpon 100 Vs 120 – Which One Is Preferable?
- Get The 5 Best Flipping Rod Under 150 With the Ultimate Buying Guide
- 7 Best Whitewater Kayak For Big Guys To Enjoy Adventures